
 Portable EV Charger
 Home EV Wallbox
 DC Charger Station
 BESS Charging Station
 V2G V2H V2V V2L
 EV Charging Module
 DC Charging Connector
 EV Accessories
How to Install the Pantograph Up Charger System Dome for Electric Bus
Installing a “Pantograph Up” system—where a retractable arm on the bus roof connects to an overhead charging hood—requires two main phases: vehicle-side (onboard) mounting and infrastructure (depot/station) setup. Because these DC fast chargers operate at 150 kW to 600 kW, professional installation, calibration, and structural reinforcement are essential.
In a Pantograph Up system, the “Dome” (or contact hood) is the stationary, inverted structure suspended overhead at a bus stop or depot. When an electric bus parks underneath, its roof-mounted robotic arm reaches upward to lock into this dome.
The Outer Protective Shell (The Hood): A weatherproof, impact-resistant fiberglass or composite dome designed to shed rain, snow, and debris.
The Contact Rails: Inverted, parallel copper or silver-plated bars inside the dome that transfer high-voltage direct current (DC) and grounding/pilot connections.
The Funnel/Guiding Strips: Flared mechanical entries that guide the rising pantograph bars into the exact locking channel, compensating for slight vehicle misalignment.
Phase 1: On-Vehicle Installation (Bus Modifications)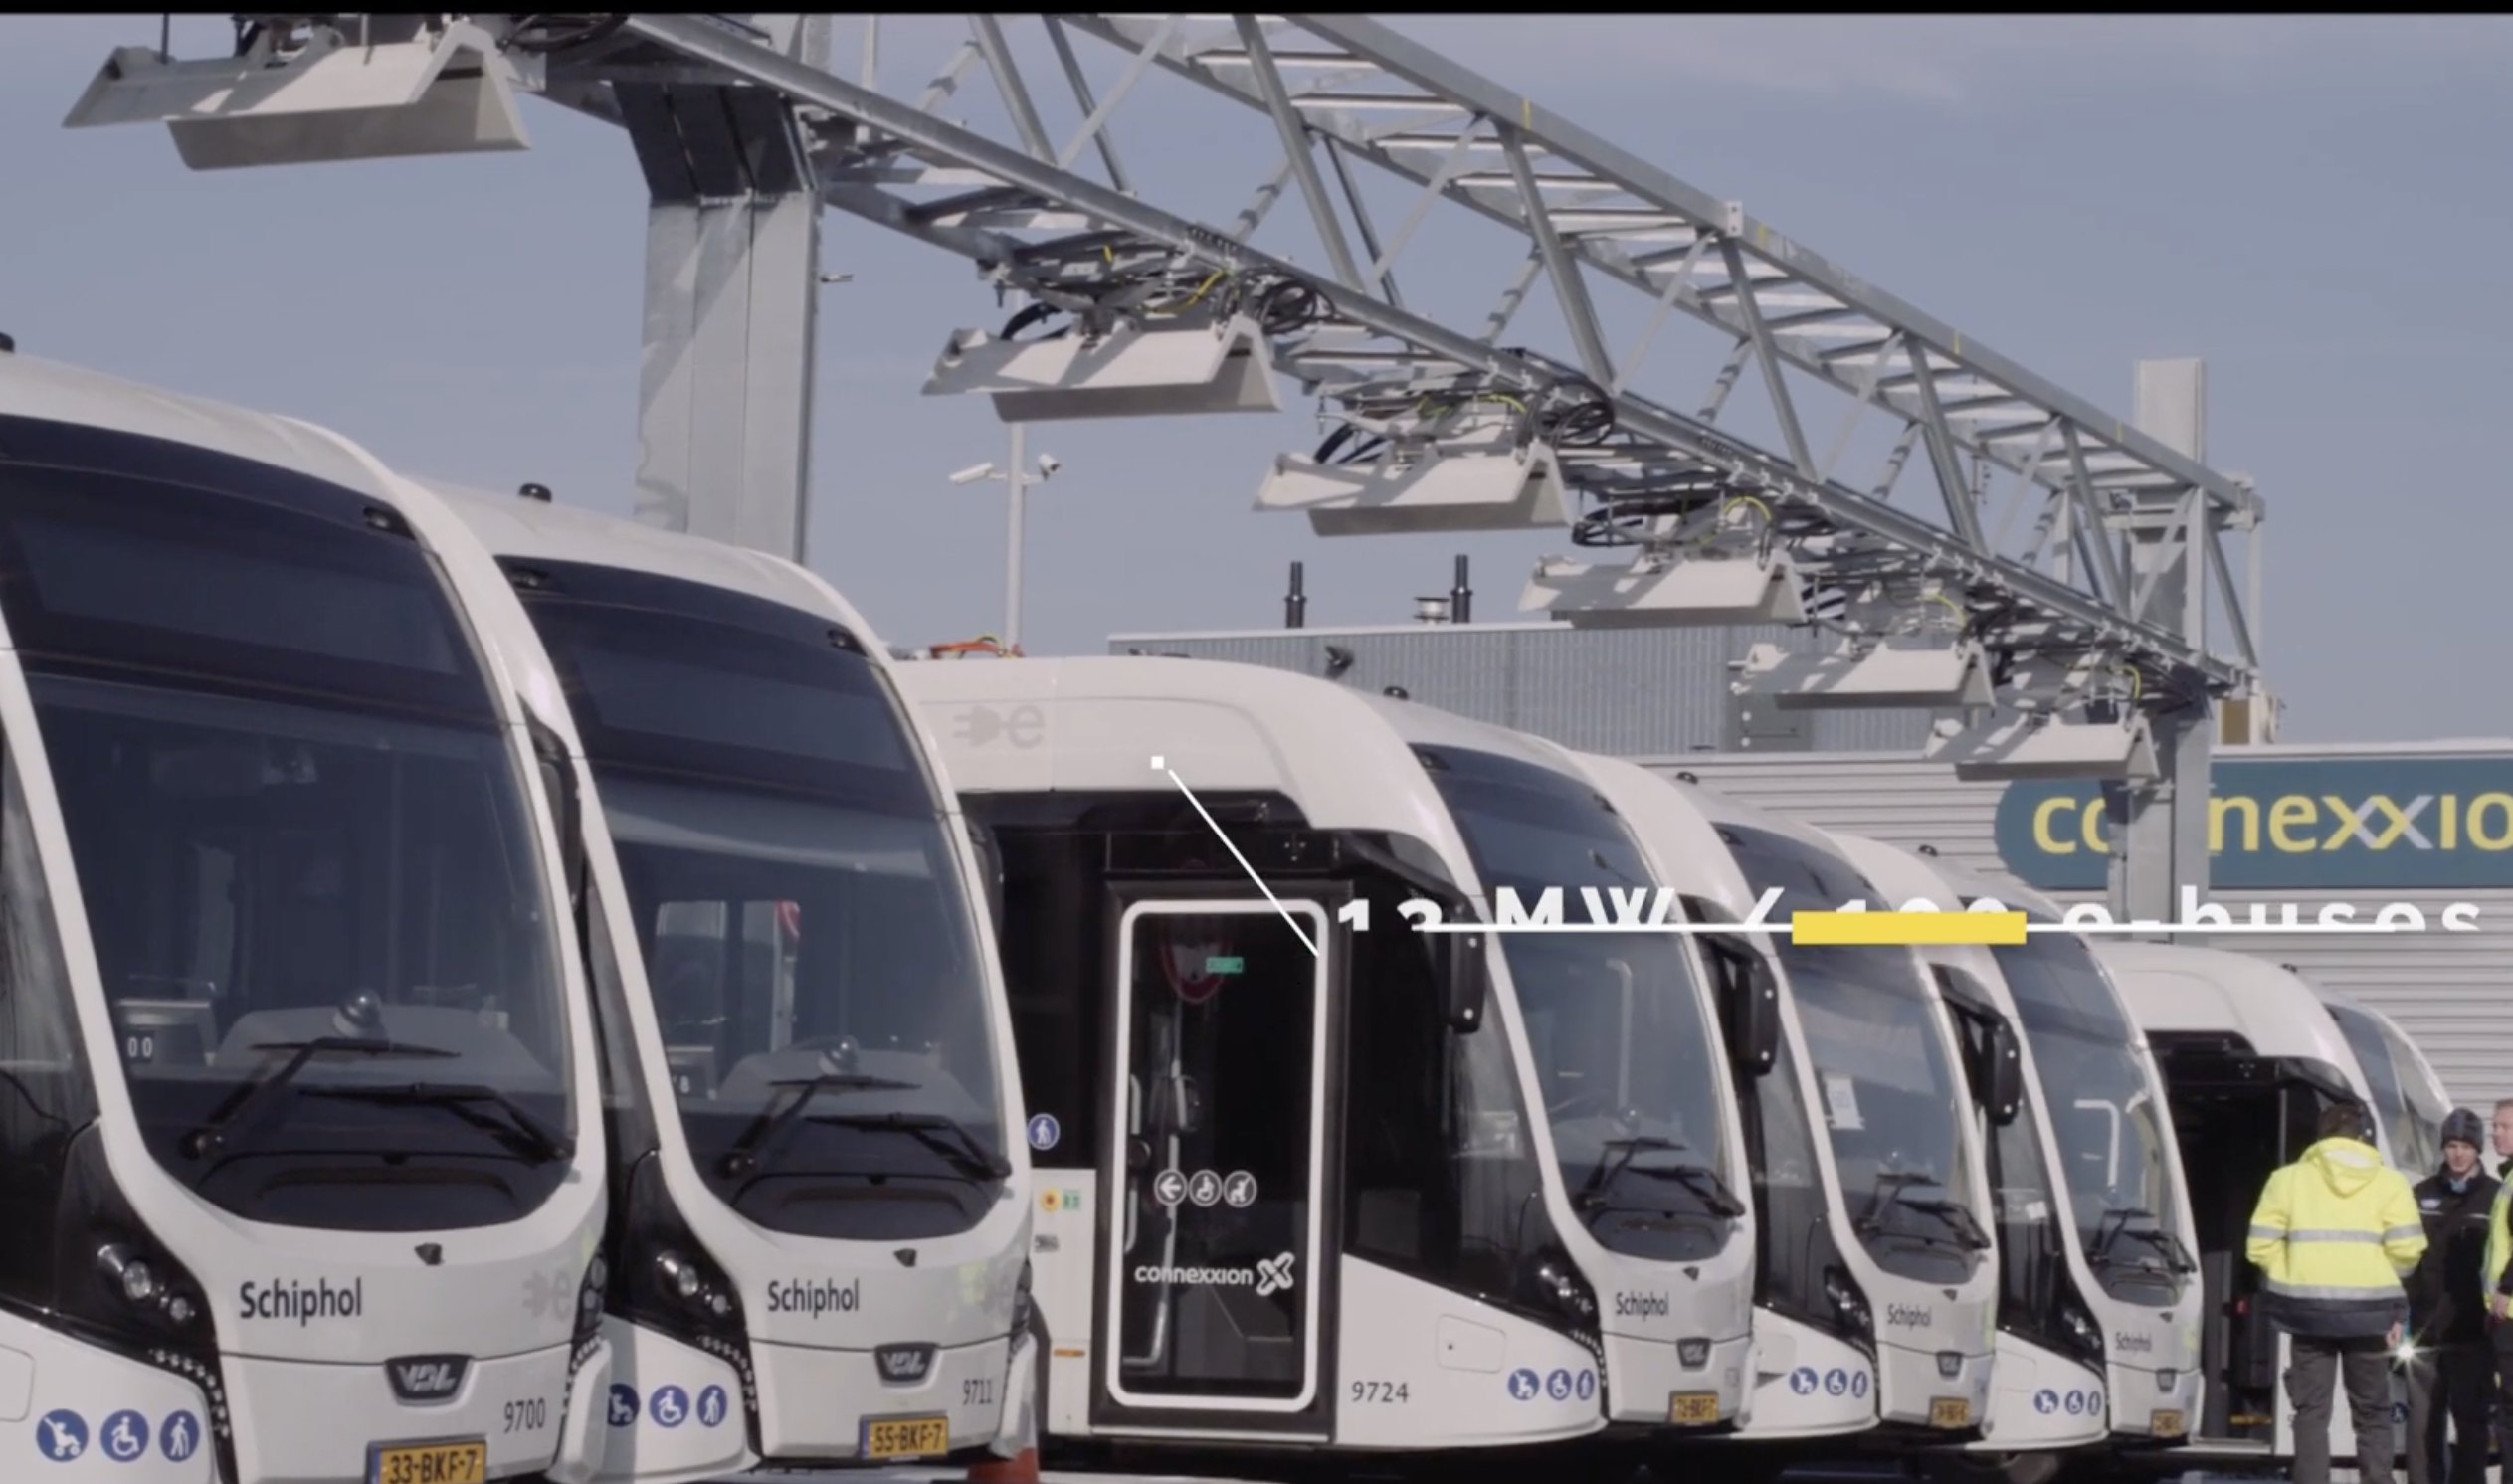 How to Install the Pantograph Up Charger System for Electric Bus
How to Install the Pantograph Up Charger System for Electric Bus- Structural Reinforcement: Mount a specialized roof rack or reinforced framing to the bus roof (usually above the front axle) to support the weight and kinetic force of the pantograph.
- Mechanical Mounting: Bolt and seal the pantograph base to the roof. Ensure weatherproofing and cable routing provisions are in place.
- High-Voltage Cabling: Route the high-voltage (DC) cables from the roof down through the interior or exterior conduits directly to the bus’s main traction battery management system (BMS).
- Communication Integration: Connect the pantograph’s control unit to the bus’s dashboard interface and Wi-Fi/RFID communication module. This allows for automated “handshakes” with the charging station.
Phase 2: Infrastructure & Station Setup
- Site Design & Foundation: Construct reinforced concrete bases for the high-power charger cabinets, transformers, and switchgear.
- Overhead Charging Masts: Erect heavy-duty structural steel poles and gantries to suspend the overhead charging hood over the designated parking bay.
- Power Supply & Grid Connection: Connect high-voltage utility lines to dedicated transformers, switchboards, and power distribution cabinets. Ensure compliance with international safety standards like IEC 61851-23.
- Alignment & Guiding Systems: Install floor markings or overhead laser/camera alignment guides to help the driver park precisely beneath the charging hood.
Phase 3: Calibration & Testing
- Communication Testing: Verify that the automated wireless handshake (e.g., OppCharge or ISO 15118 protocols via Wi-Fi) establishes a secure connection before the pantograph physically raises.
- Docking Tolerances: Calibrate the pantograph’s vertical reach. The system generally requires docking accuracy of roughly ± 30 cm longitudinally and ± 10 cm laterally.
- Safety Interlocks: Test the mechanical and electrical interlocks. The system is designed to inhibit deployment if the bus is not in Neutral, the parking brake is not set, or a pilot signal fault is detected.
Post time: Jul-12-2026
